A virtual private network, or VPN, is a service that your device connects to before it accesses the wider internet. This means that to anything trying to look at you on the internet, they don’t see you or your device; they see the VPN that you are connected to, in whatever form that takes. This helps keep you safe while browsing, and stops anyone being able to track your movements. If you’re still undecided on which VPN to use, our team has been hard at work testing, checking and evaluating the best offerings on the market, so you don’t have to. Have a look at our best VPNs of 2018 here.
How to use a VPN on an iPhone or iPad
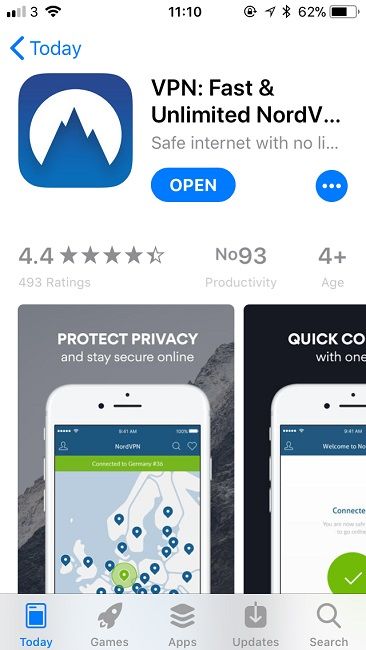
As NordVPN is our favourite we’ve decided to use that as an example. You can check out our review of it here to find out why we like it so much. Once you’ve signed up for an account with NordVPN, you can download the app from the iOS App Store here.
Open up the app on your device, and log in with the account you just made. You’ll be met with the screen below.
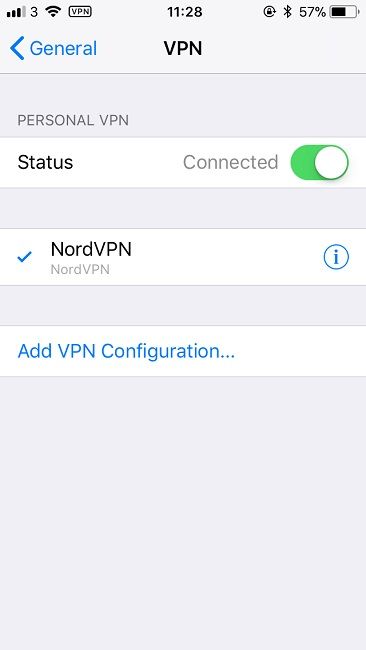
Hit quick connect, and a pop-up will alert you that you’ll need to grant the app permission to connect to a VPN. Tap ‘Got it’, and hit ‘Allow’ on the following screen. You will then be taken to your options, where you will be asked to verify your decision. Do this, and you will then be taken back into the Nord VPN app, and will now be connected. This process allowed NordVPN to set up a VPN setting on your phone. You can view these by going to your Settings > General > VPN. You’ll see a screen like this, which will show you the VPN settings you have installed.
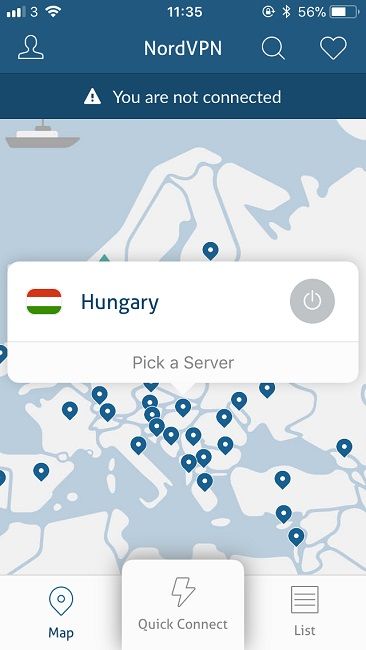
The App will chose a default server for you, and the VPN is now active. Your browsing is now safe and anonymous as you are accessing the wider internet through the medium of the VPN. If you’d like to find out more about how VPNs work, have a look at our guide here. While the VPN will automatically chose a server for your connection to route through, you can select one yourself if you want to make it look like you’re connecting from a specific country. Go to the ‘Map’ or ‘List’ tabs at the bottom of the screen, and select the country you wish to route your connection through. Let’s make it look like we’re connecting through Hungary, because why not!
Tap the ‘Power’ or ‘On’ button next to your selection, in the middle of the screen to active the server.
Now the wider internet believes that your connection is coming from Hungary. It’s just that simple. At the top right of the screen, you can tap the heart to add a server to your favourites so you can quickly find it again. These VPNs are very easy to use, take less than two minutes to set up, and give you that peace of mind knowing that no one is able to track your browsing or activities. The full versions of the software are available for less than the cost of a cup of coffee each month, which is a very small price to pay to ensure your online activities are kept away from prying eyes.