It’s easy to do and here we’ll show you how to make these adjustments which can have great benefits.
How to change mouse pointer in Windows 10
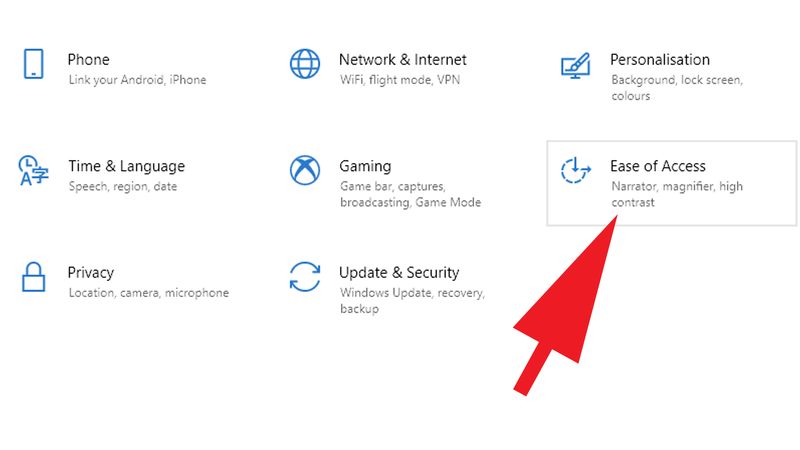
Changing the mouse pointer is very easy. To do so, open the Start Menu then choose Settings > Ease of Access. Or, just type pointer or cursor into the search box next to the Start button and click on the top result in the list of search results.
This presents a range of accessibility options, split into the sections Vision, Hearing and Interactions. In the Vision section there’s a setting for Cursor & pointer. Select that and you’ll see some new options appear in the main pane. The top of these is entitled Change pointer size and colour.
Dragging the Change pointer size slider bar does exactly that. Move it to the right and the pointer will be bigger, to the left and it’s smaller. Beneath this you’ll see the Change pointer colour setting. There are four choices: white, black, slightly transparent (this one looks black but changes when moved over solid colours), and colour.
Opting for the latter opens up another row of colour swatches that you can choose between or you can even make your own refinements by clicking on the Pick a custom pointer colour option. The final setting allows you to Change cursor thickness, again by using the sliding bar.
All of these settings are dynamic, so there’s no need to click Save at the end and you can change them all at any time. Note that changing these settings will affect all cursor icons, including the I-shaped one that appears when you’re editing text and can be fiendishly difficult to see on some displays.
How to change mouse pointer in Windows 8.1
The method for changing your mouse pointer size and colour in Windows 8.1 is very similar to that outlined above. Open Settings > Change PC settings > Ease of Access then look for the Mouse option in the left-hand column. Selecting this opens up several options in the main pane which include Pointer size and Pointer colour. Use these to tailor the Windows cursor to suit your requirements.
How to change mouse pointer in Windows 7
Windows 7 may have been retired by Microsoft, but we know that it still has a few users out there. If you need to adjust the mouse pointer on Windows 7, take the following steps. Go to the Start Menu and select Control Panel. Use the search bar to find Mouse, then when you’re in the settings, choose the Pointers tab and use the options there to personalise your mouse pointer. For more ways to improve your Windows experience, read our guide on how to get the most out of your Windows PC. Martyn has been involved with tech ever since the arrival of his ZX Spectrum back in the early 80s. He covers iOS, Android, Windows and macOS, writing tutorials, buying guides and reviews for Macworld and its sister site Tech Advisor.